Update February 13, 2019: Adobe Encore is aging and getting buggy without any updates from Adobe since 2013. So I explored new ways and found one. Scroll all the way down to see my documentation.
——–
How to convert any video file to a DVD ISO file using Adobe Encore CS6?
(Here’s How to Download Adobe Encore CS6 from Adobe Premiere CC)
In this tutorial, we will convert a video file to a DVD ISO format file.
The DVD ISO file complies with amzn CreateSpace Media on Demand requirement.
(Updated 16 January 2019. This demo is recorded on an Apple MacBook Pro, so it may look different from a Windows version.)
Before we go into Encore, use Premiere Pro to encode the video into a DVD-compliant MPEG file.
Premiere Pro’s encoding is more stable and higher quality than Encore’s encoding.
- Import the video into Adobe Premiere Pro.
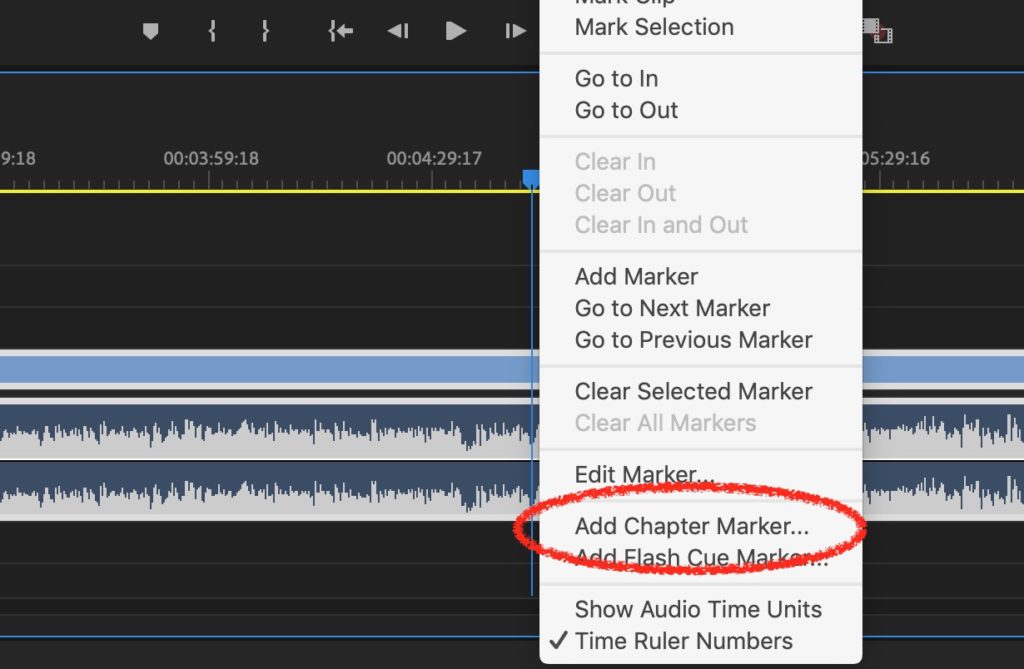
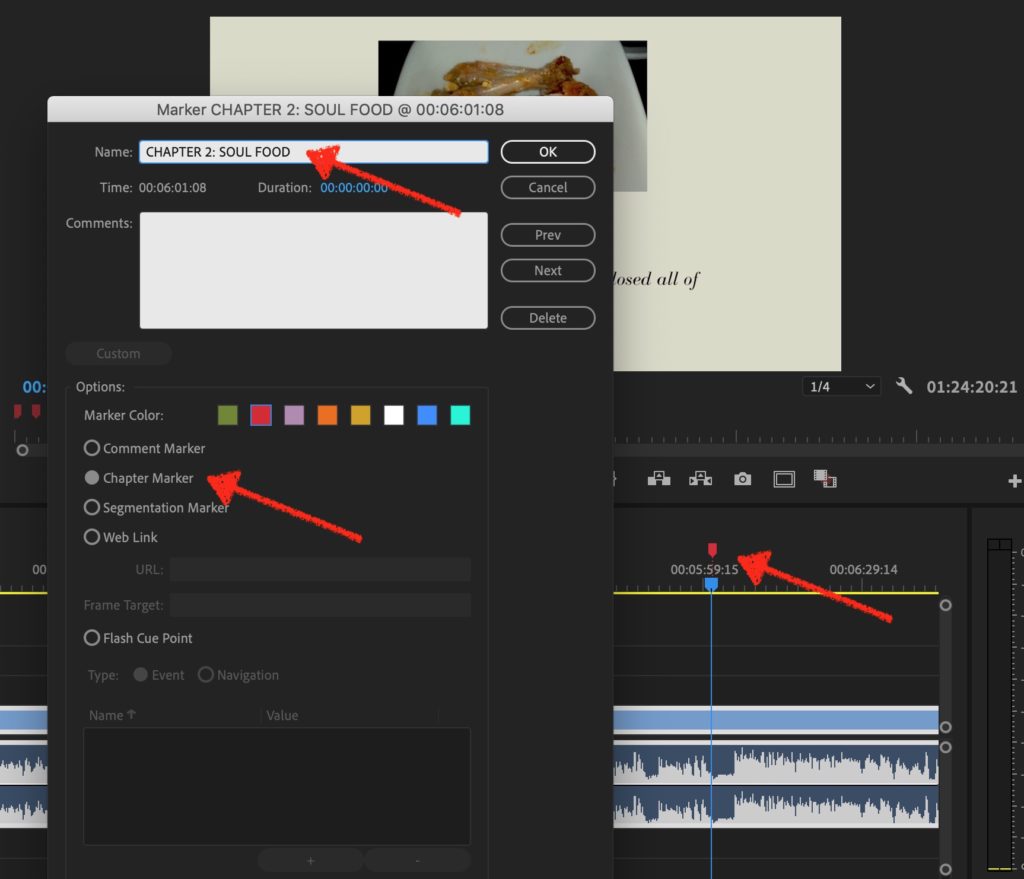
- Add Chapter Markers and label them. [Optional. Do this only when chapters points are already determined within the video. Otherwise, skip this step and do the auto-chaptering below.]
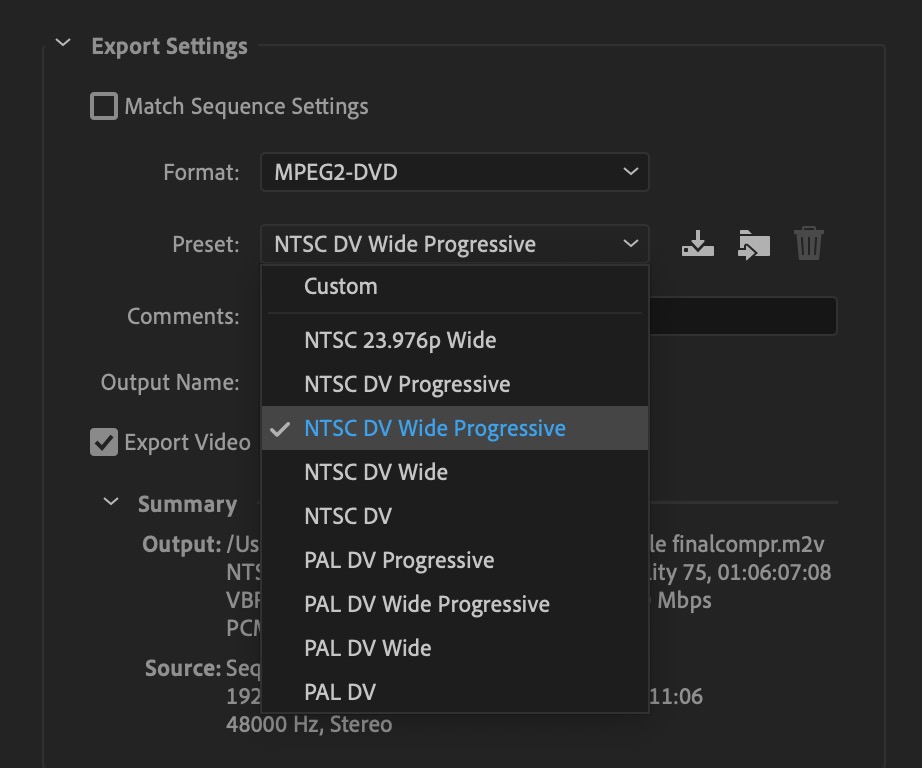
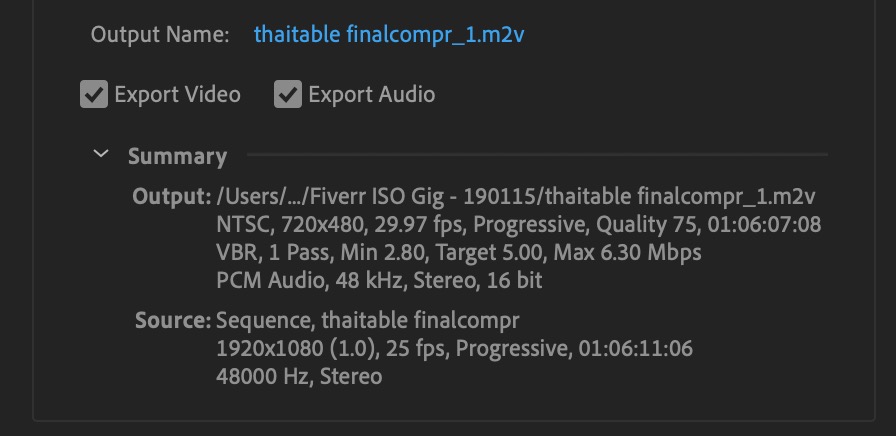
- Export the video with these settings.
- Format: MPG2-DVD
- Preset: NTSC DV Wide Progressive or PAL DV Wide Progressive
- Output Name: Key in a name and choose your project folder location.
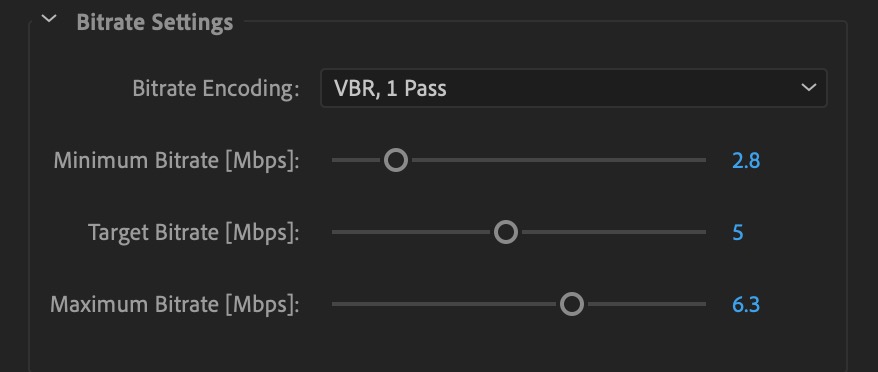
- Bitrate settings: Maximum Bitrate 6.3Mbps (Specs given by amzn CreateSpace Media on Demand)
- You will get 2 files. a .m2v video file and a .wav audio file.

Now let’s go into Adobe Encore.
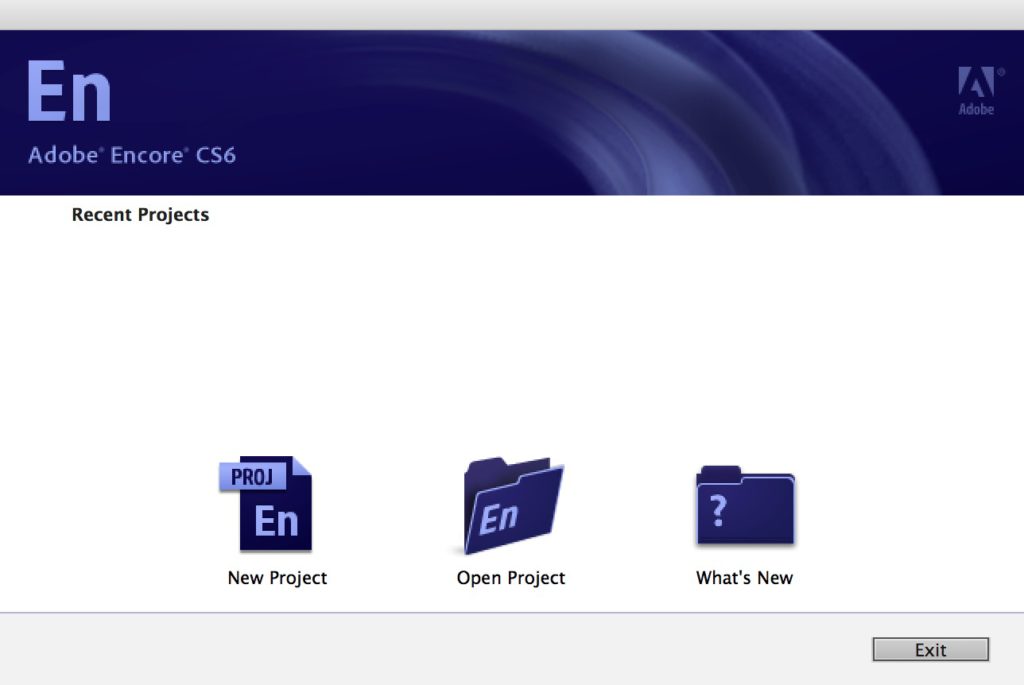
- Open Adobe Encore CS6.
- Select New Project…
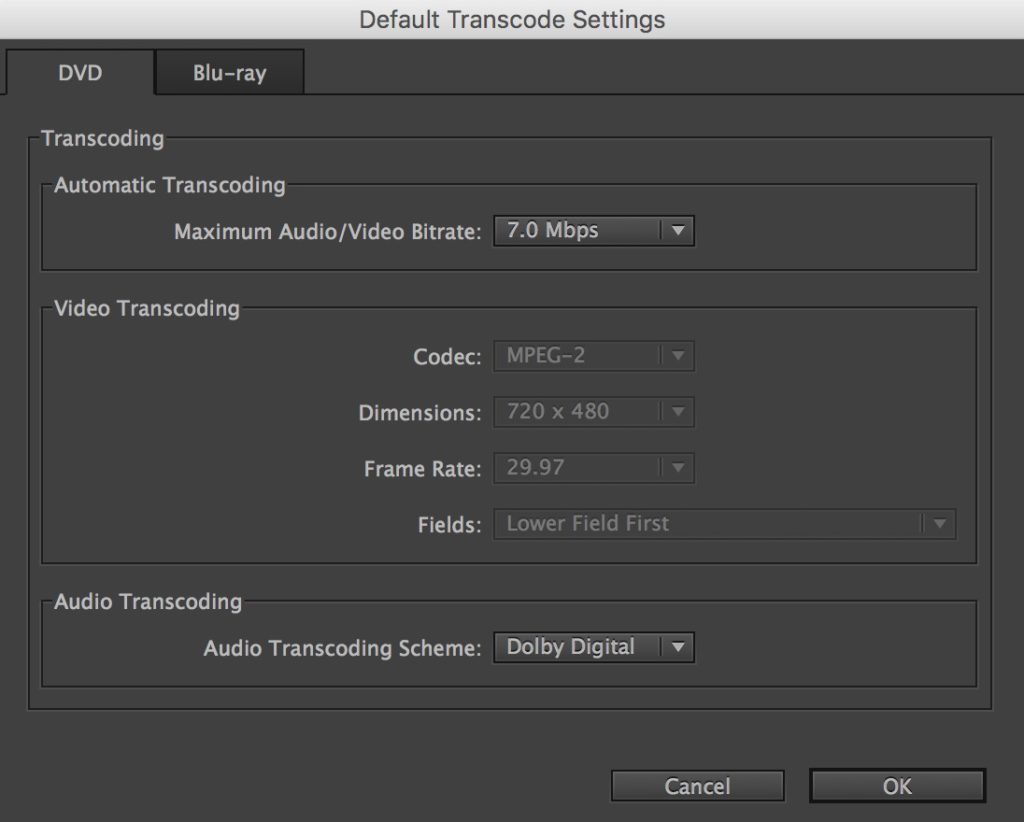
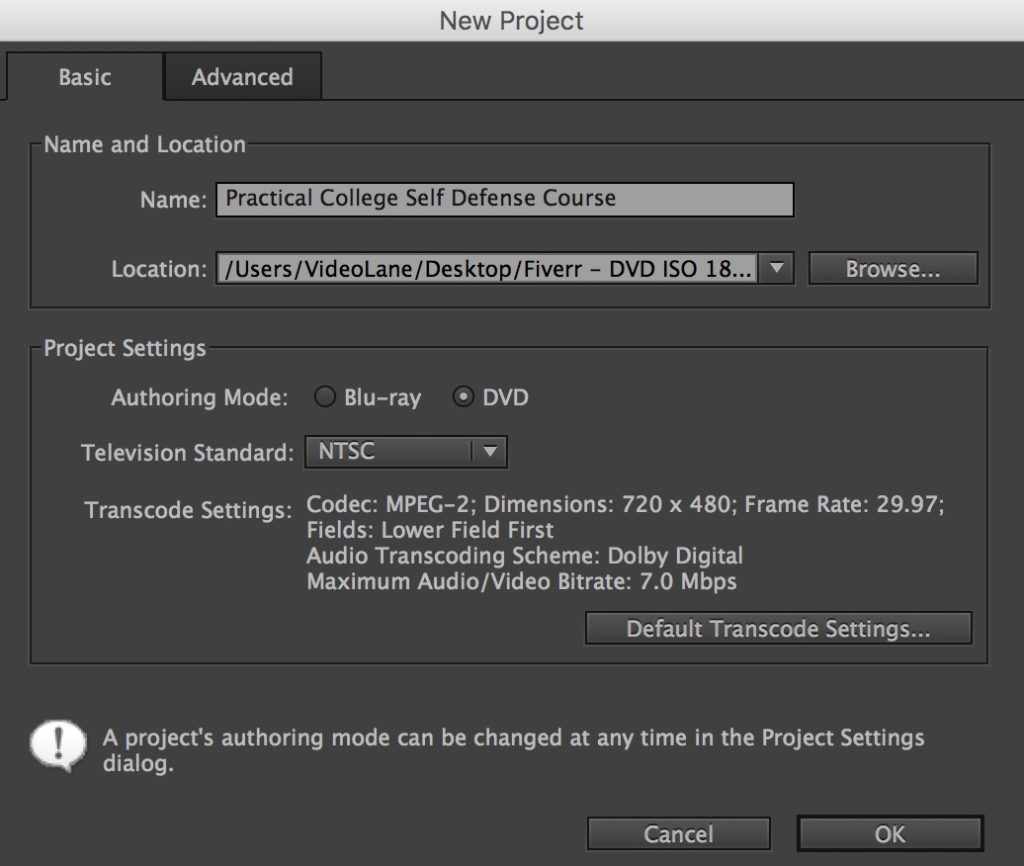
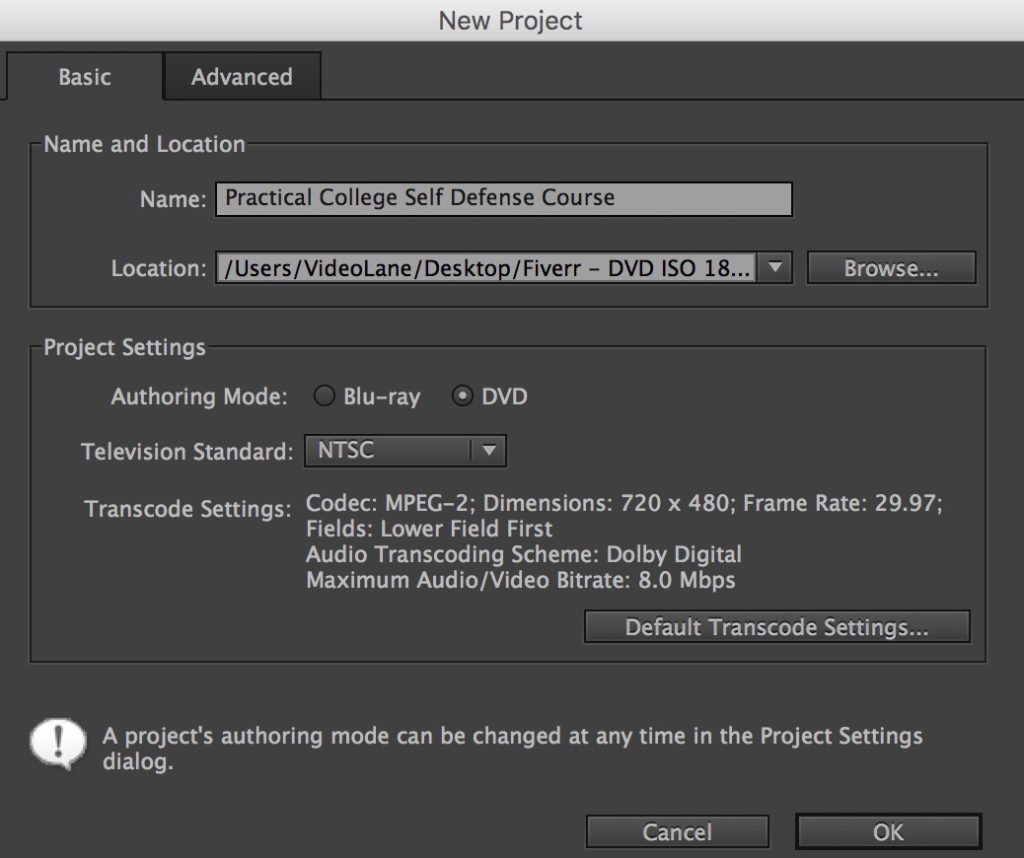
- Enter New Project info…
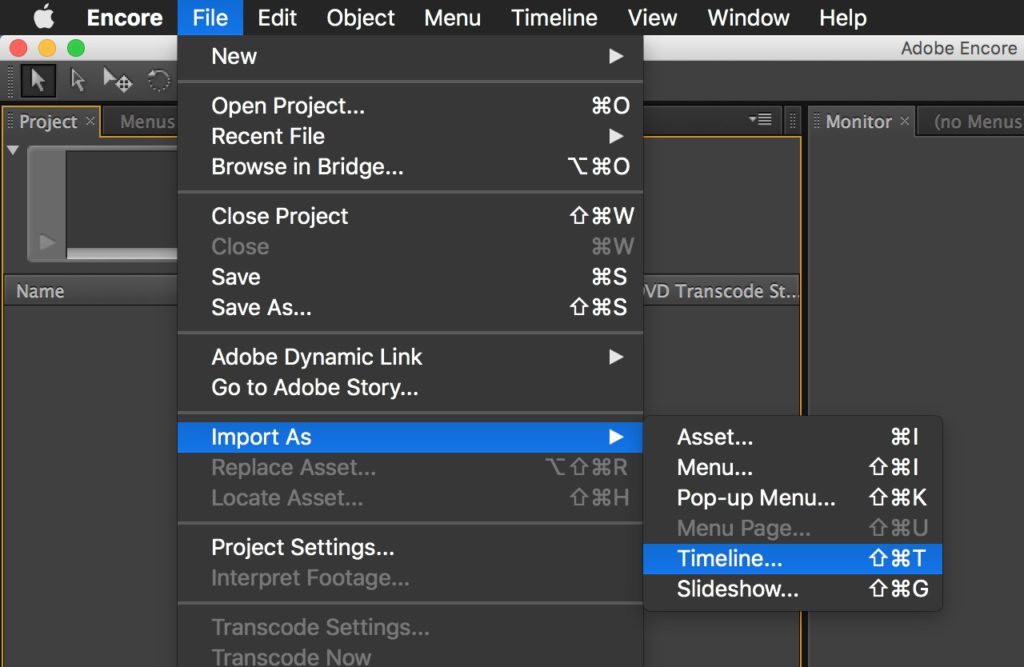
- From the main menu select File > Import As > Timeline…
- Select the .m2v video file and the .wav audio file, then click Open (REMEMBER to hit SAVE, Encore likely to crash after this)

- Select the .m2v video file and the .wav audio file, then click Open (REMEMBER to hit SAVE, Encore likely to crash after this)
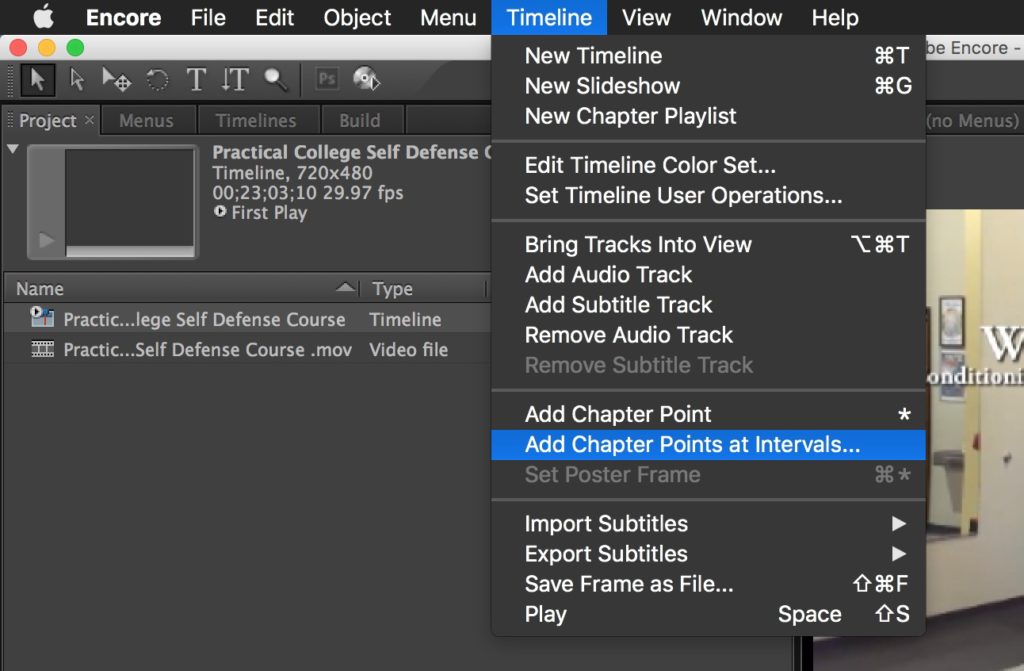
- From the main menu select Timeline > Add Chapter Points at Intervals… [Skip this step if the chapter markers are already added in Premiere Pro above.]
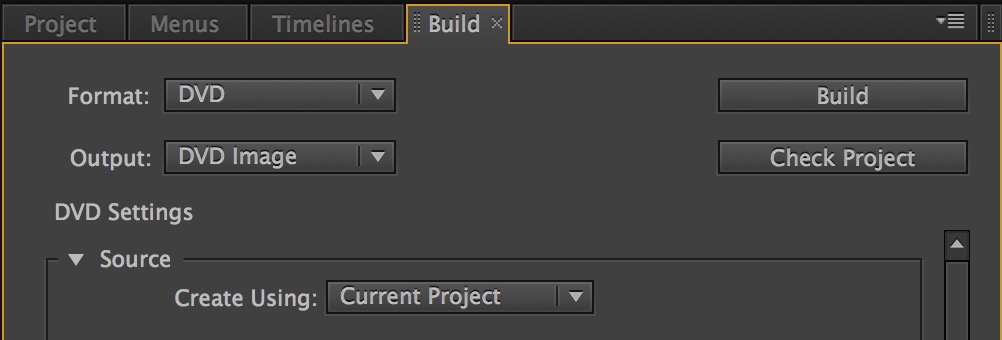
- Go to Build panel…
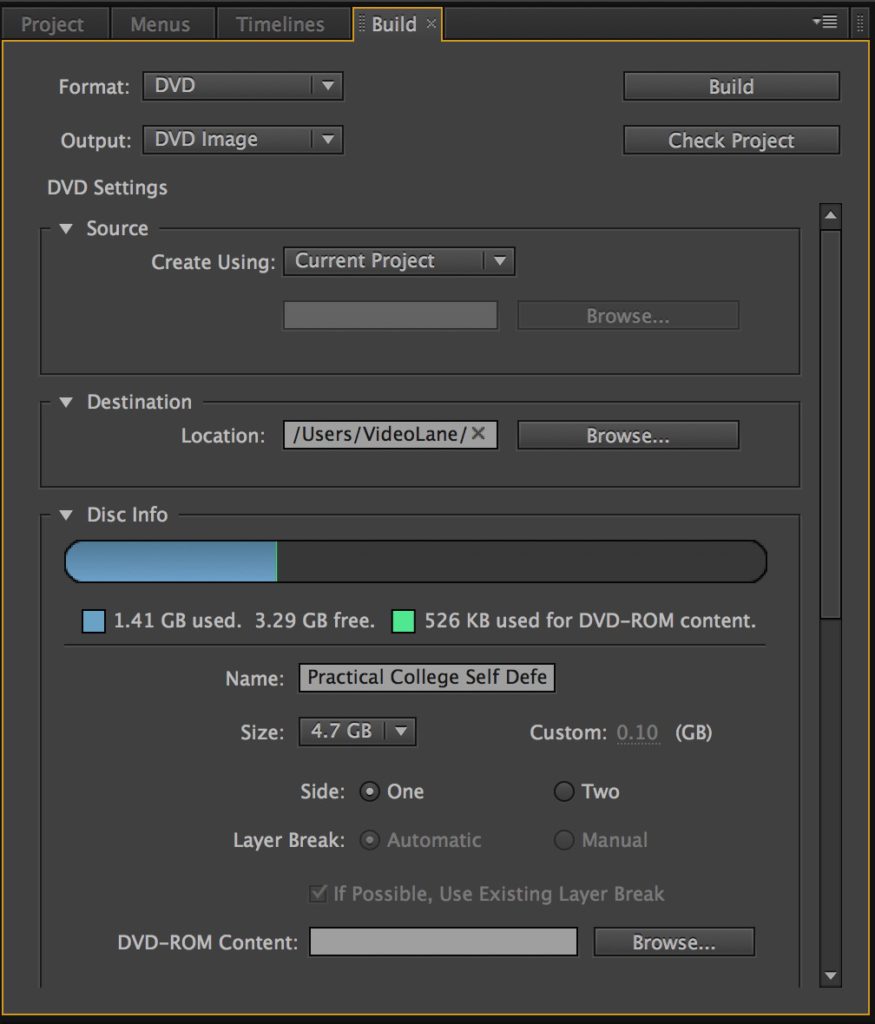
- Format: DVD
- Output: DVD Image
- Create Using: Current Project
- Location: Choose your project folder
- Disc Info – Name: Enter a project name
- Size: 4.7GB
- Side: One
- Click Check Project…
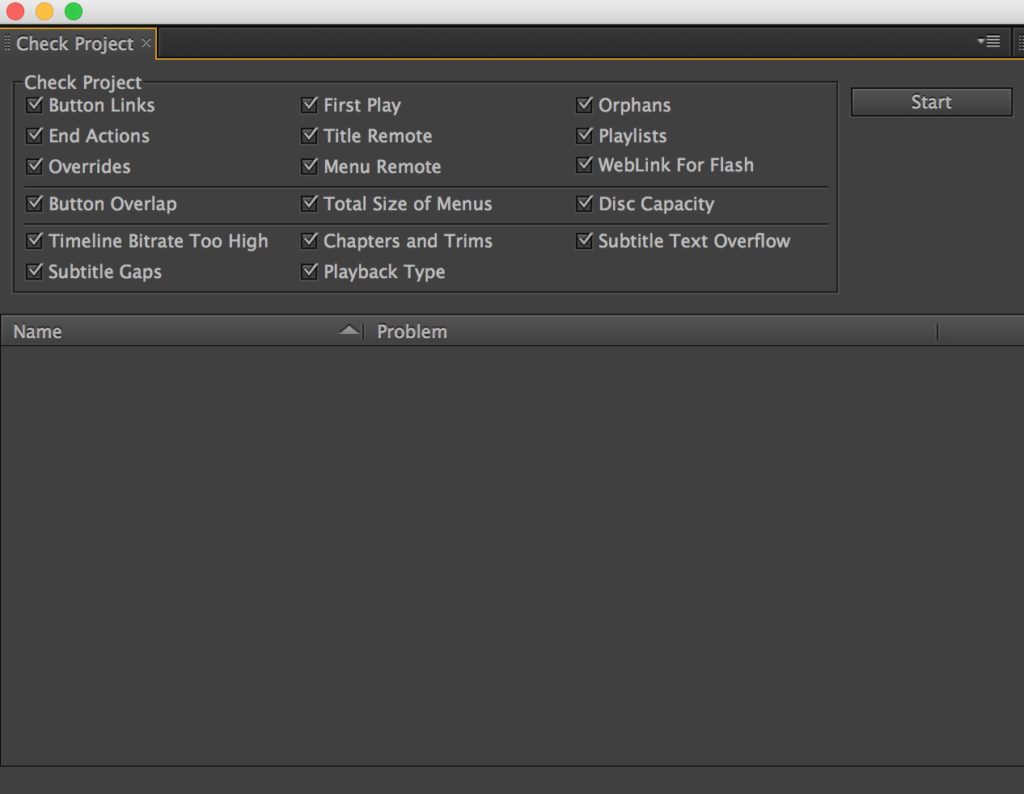
- Click Start…

- Click on detected problems and resolve problems
- For ” End action not set”, click on the error message, change the setting to “Stop”.
- For “Title remote not set”, click on the message, change the Title Button to Specify Link as main video title.
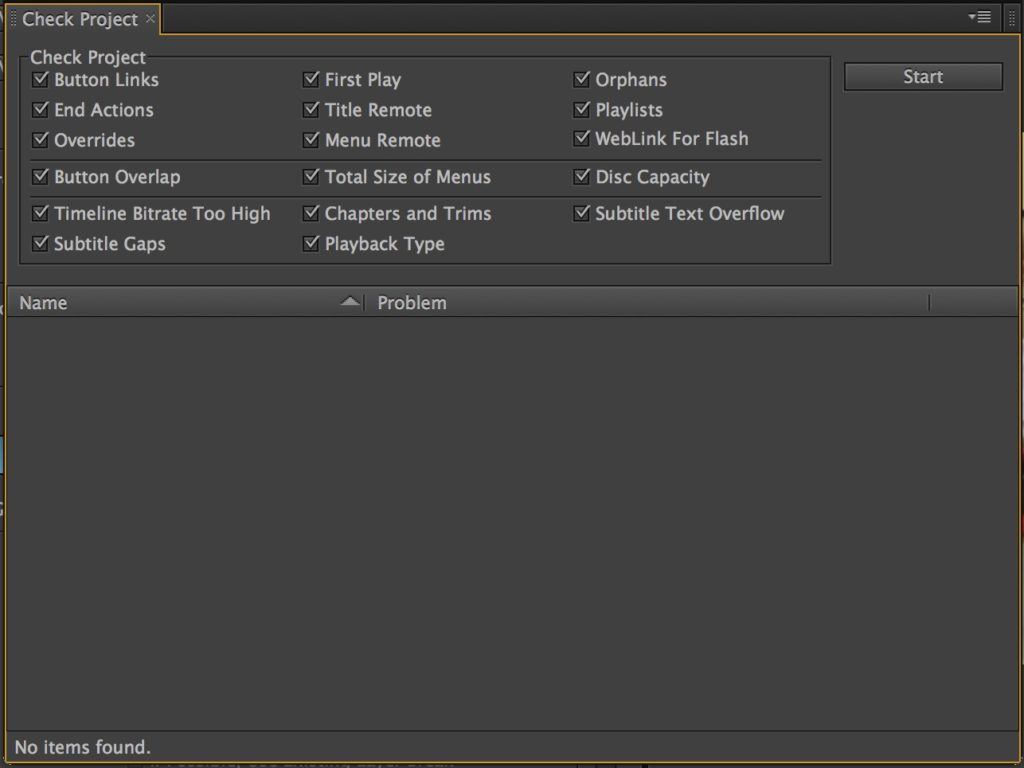
- Click Start again to ensure no problems detected
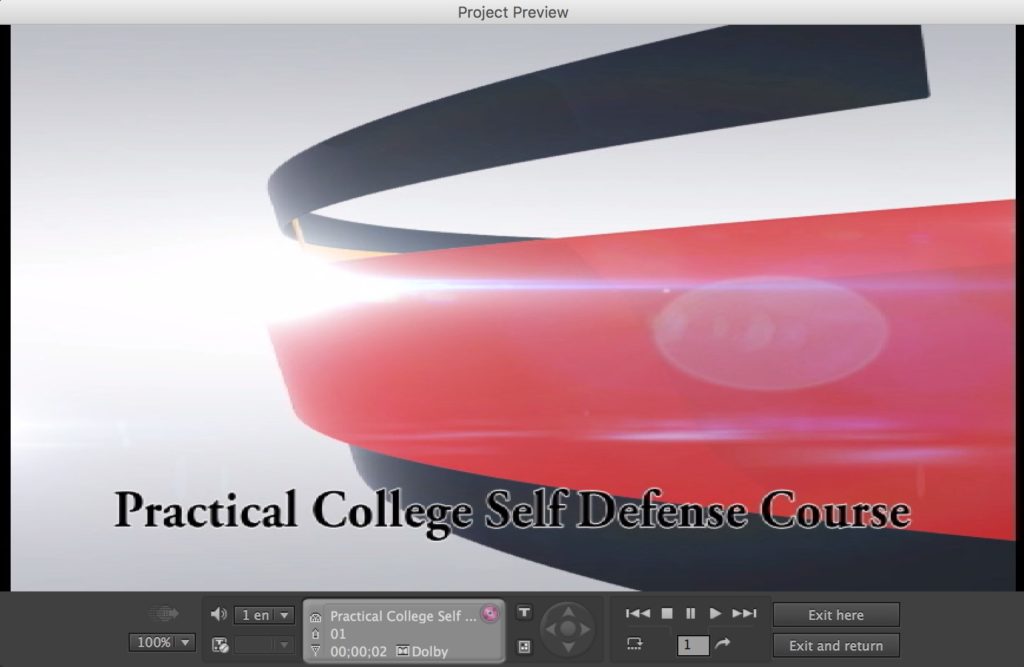
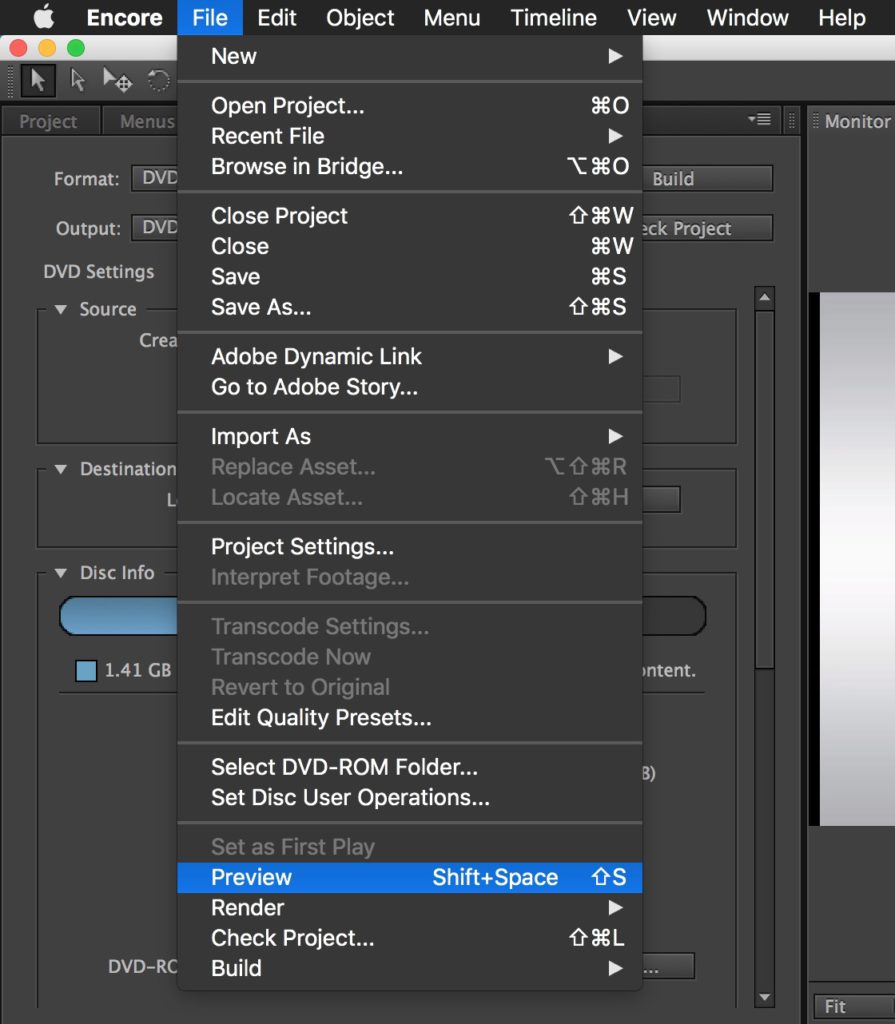
- From the main menu select File > Preview…
- From the Build panel select Build…
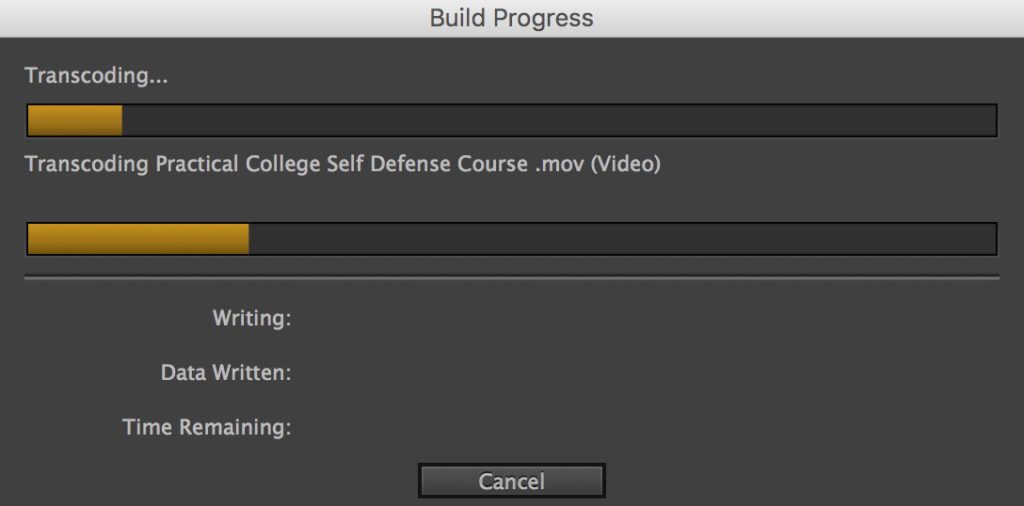
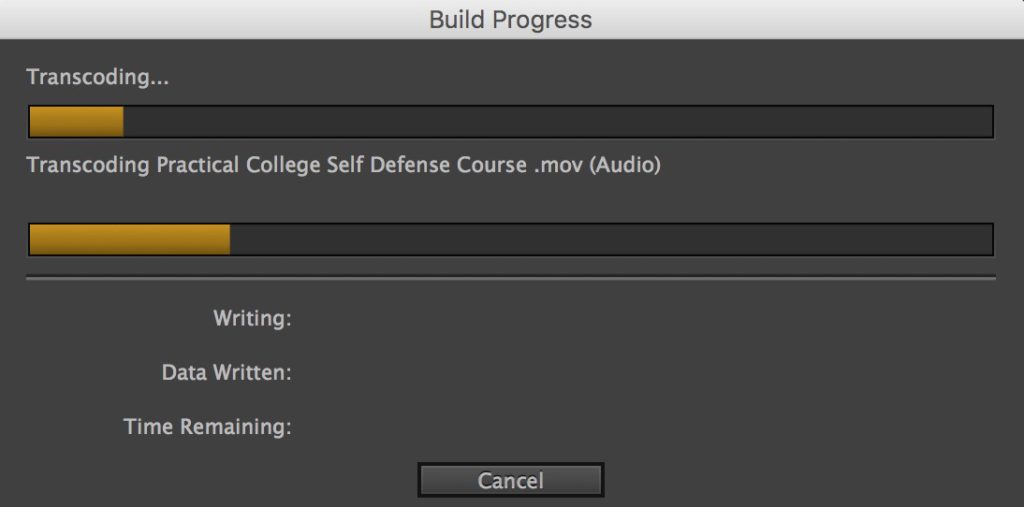
- Wait for the Build Progress…
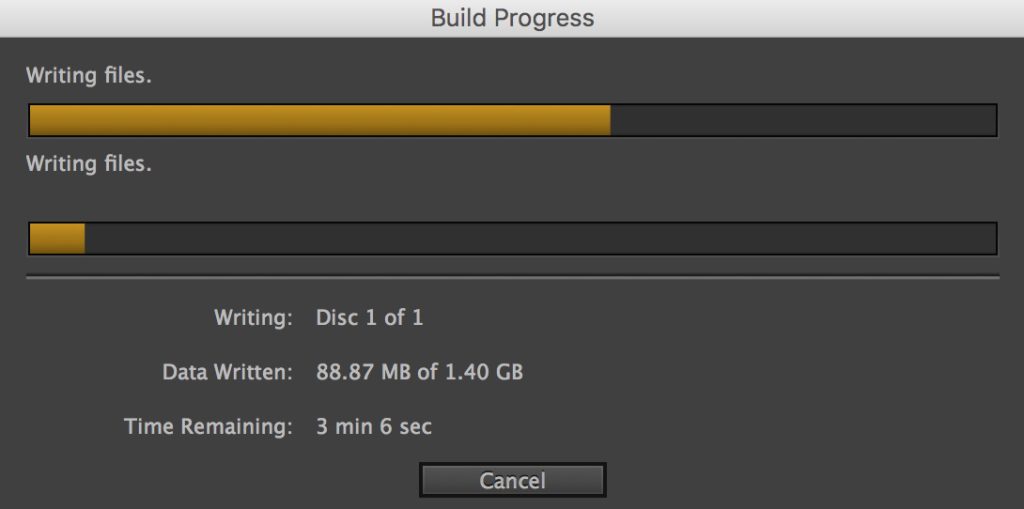
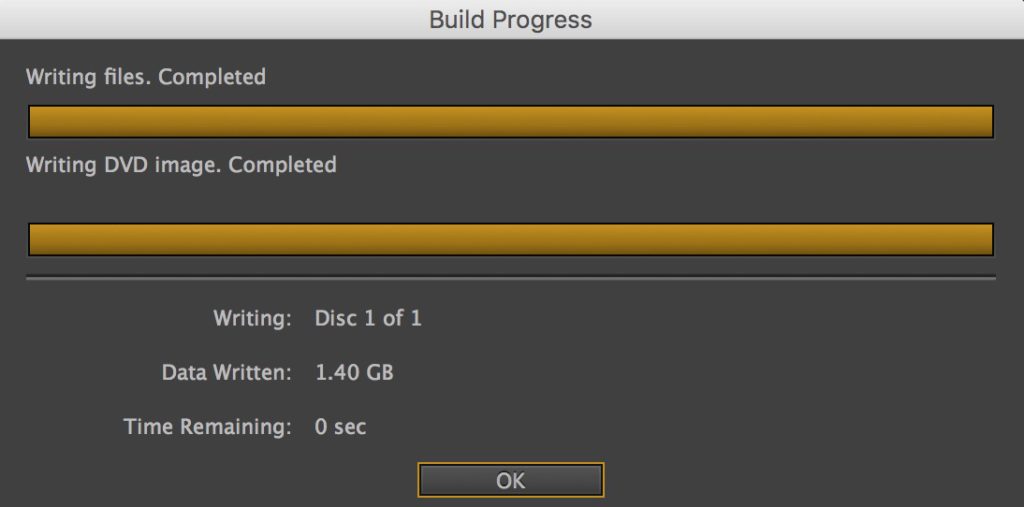
- Click OK when completed
- Check the DVD ISO file in your project folder…
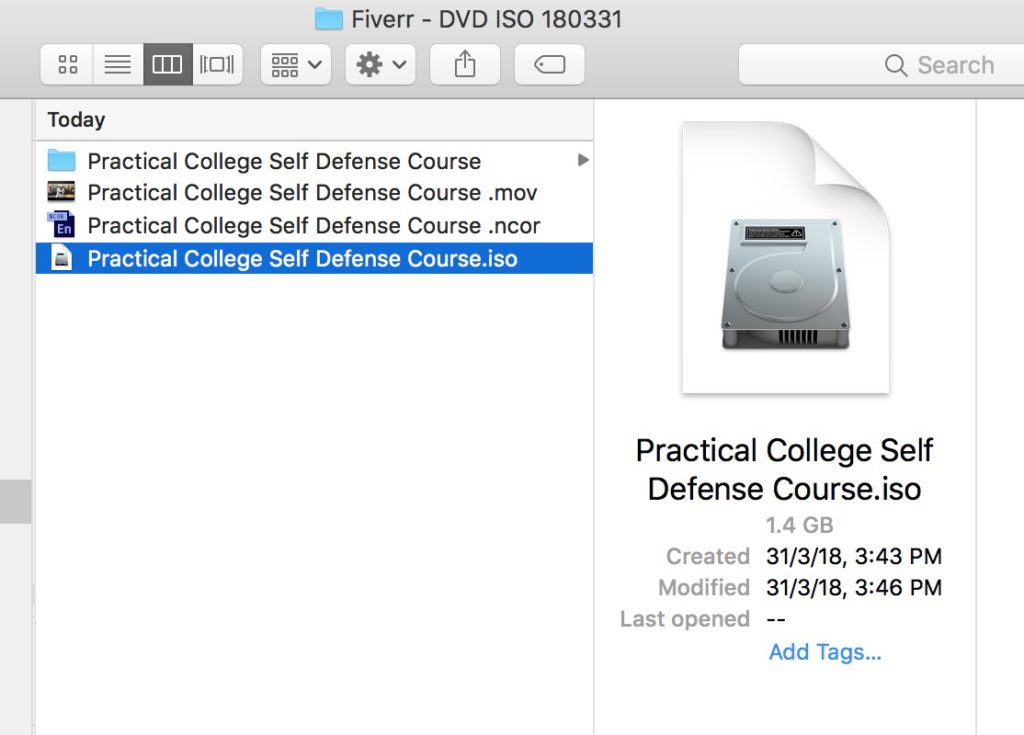
- Test the playback of the DVD ISO using Apple’s DVD Player or VLC Player for Windows.
- End
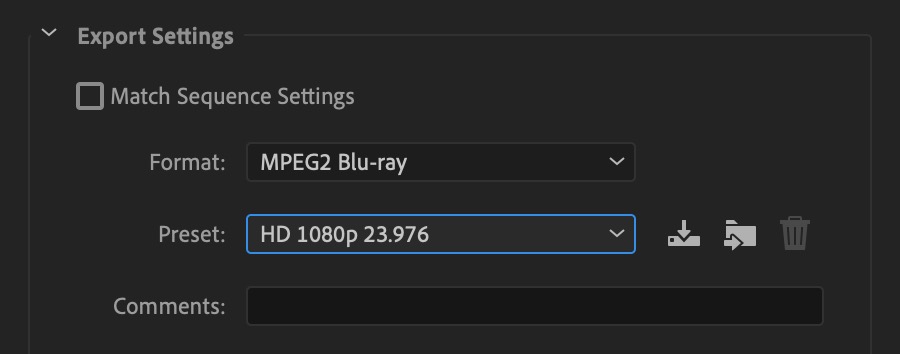
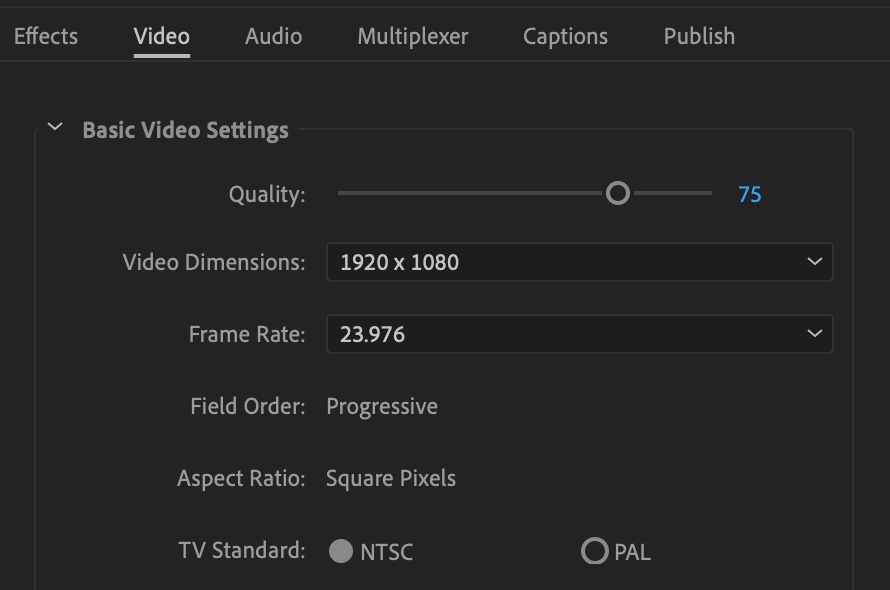
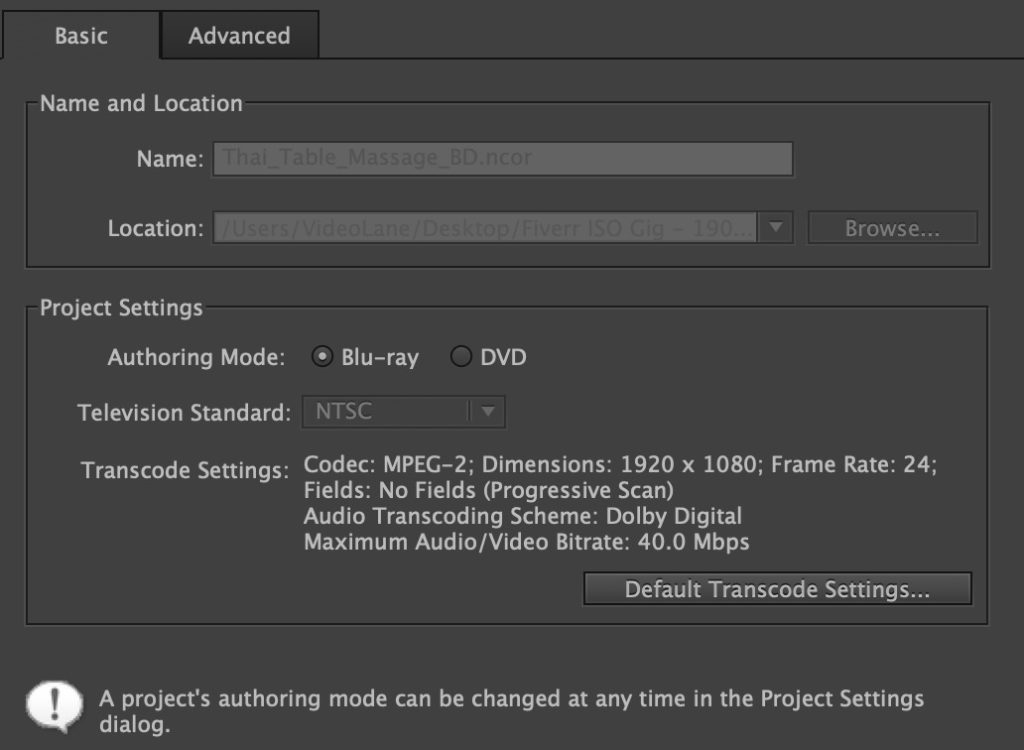
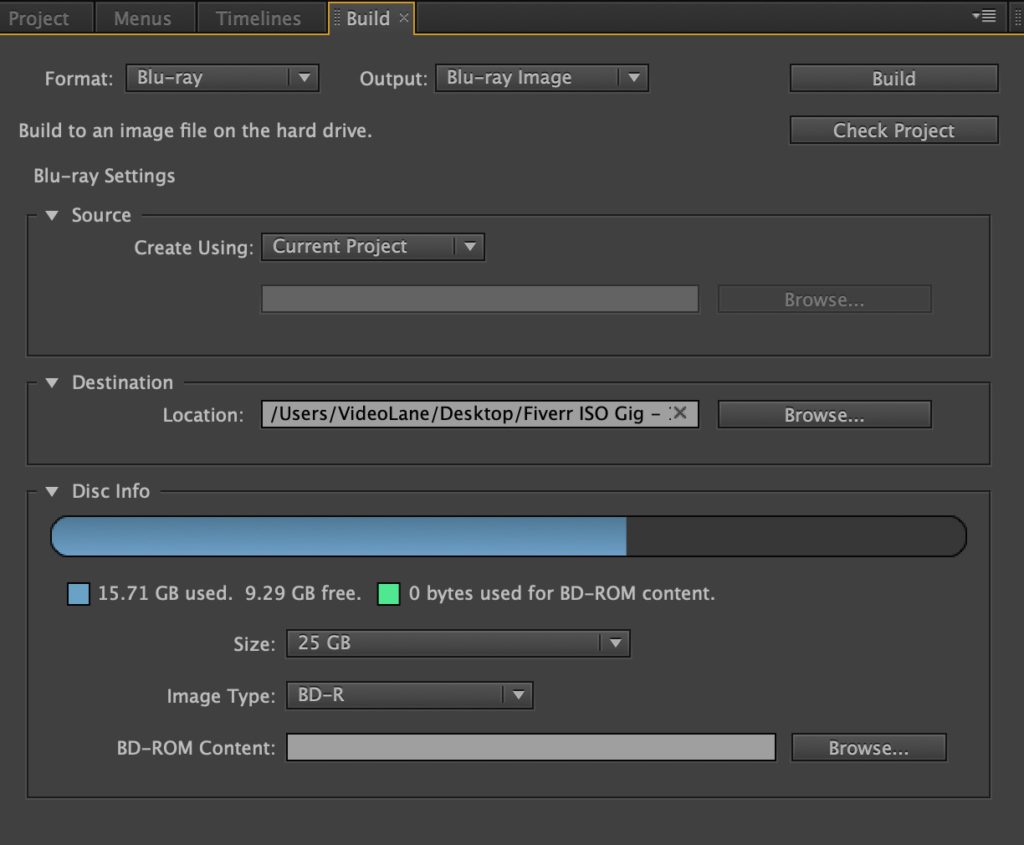
And now for Bluray ISO. Same as creating a DVD ISO but with different settings.
- Premiere Pro Export Settings.
- Premiere Pro Basic Video Settings.
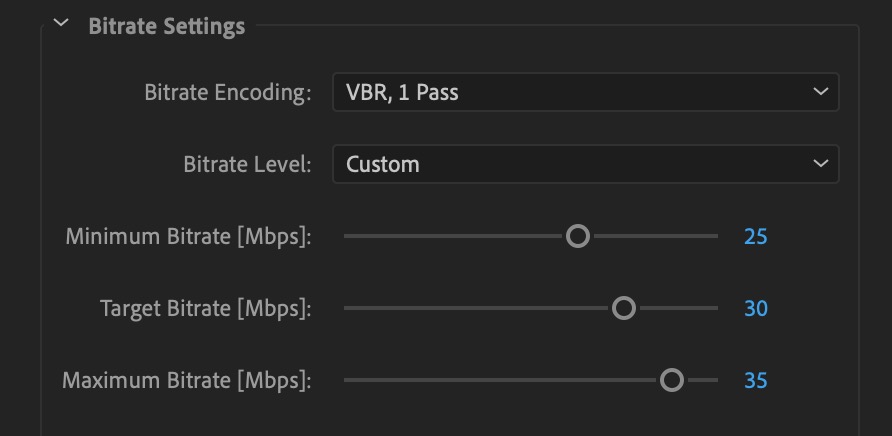
- Premiere Pro Bitrate Settings.
- Encore Project Settings.
- Encore Build Settings.
Feel free to comment and ask questions.
See my posts about making DVDs.
Adrian Lee | VIDEOLANE.COM
PS:
Hire me, Adrian Lee, for 2 days of intense, entertaining and informative training.
Train up your team with the Videography and Video Editing Course for Beginners.
But wait! There’s more…
Creating the DVD Menu
- Create a 16:9 image background in Adobe Photoshop and save as a PSD file. [Use a screen capture from a frame in the video and put it into Photoshop, then save as a PSD file.]
- In Encore. File > Import As > Menu…
- Choose the PSD file.
- On the bottom right, go to Library tab, choose Set: Government.
- Select the “T” icon.
- Drag “Stars Button Text” into the canvas with the PSD image.
- Right-click on the text and select Convert to Button.
- Change the text (properties), size (character) and position (right-click, align and distribute).
- Drag a chapter point from the timeline and drop onto a button to link them.
- Create an overall PLAY button.
- Create the flowchart links with the whip.
Importing the DVD Closed Captions and Subtitles
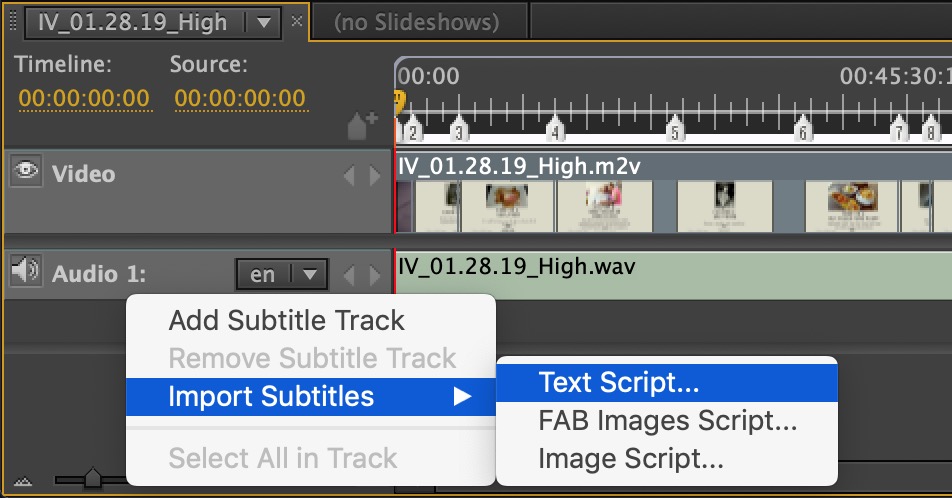
You import subtitles using a script file. Encore accepts three different types of script files: Text Scripts, Image Scripts, and FAB Image Scripts. Scripts specify the start and end timecode of the subtitles. The big difference between them is that text scripts contain the subtitle text, whereas the two types of image scripts reference predesigned and formatted image files.
- Right-click on the timeline header and select Import Subtitles > Text Script…
- At this point, I knew Encore cannot cut it anymore, so…
New 2019 Method to Create DVD ISO file using Final Cut Pro
- Create a new Library. DO NOT create Project yet.
- Import video clip.
- From the browser, right-click on the clip to create a new project. (this is to maintain the frame size and frame rate)
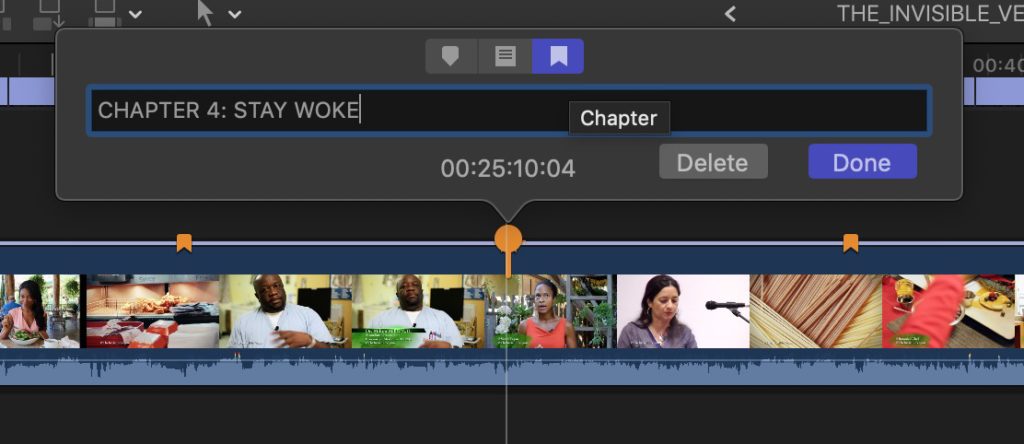
- Add chapter markers by pressing M on the video clip in the timeline. Change the standard marker to a chapter marker and give it a label.
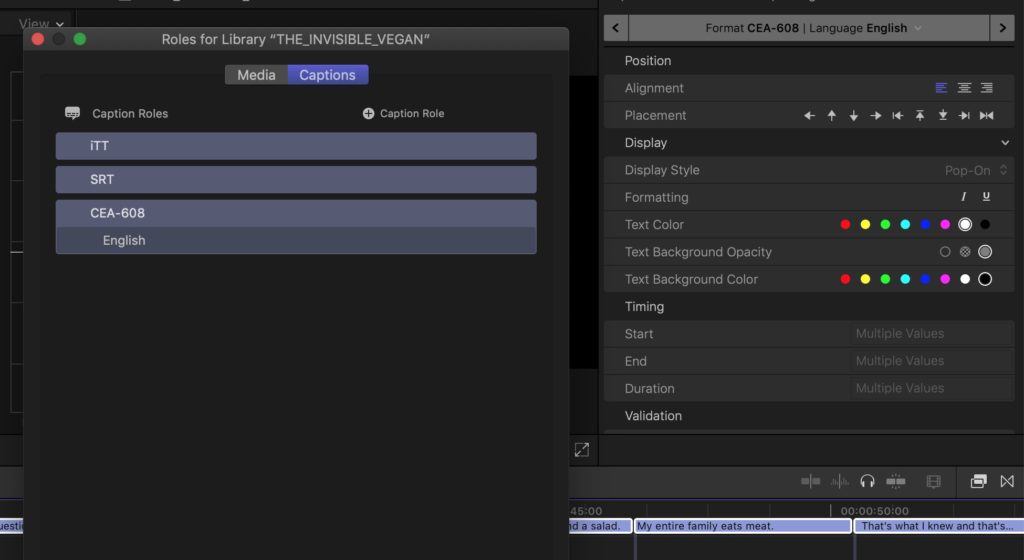
- Import the closed caption file if available. Select all the closed caption clips in the timeline. From the inspector, Edit Roll > Add caption role > CEA-608 (do this only once). Change all caption to CEA-608 (for DVD). Correct all the errors reported.
- Select File > Share > DVD… (Require Compressor App for this)

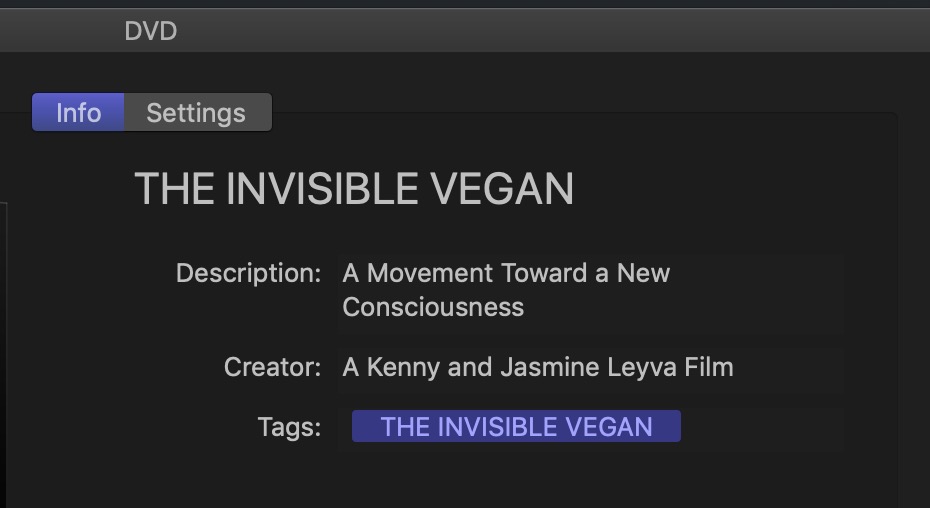
- INFO: Fill in Title, Description, Creator, and Tags.
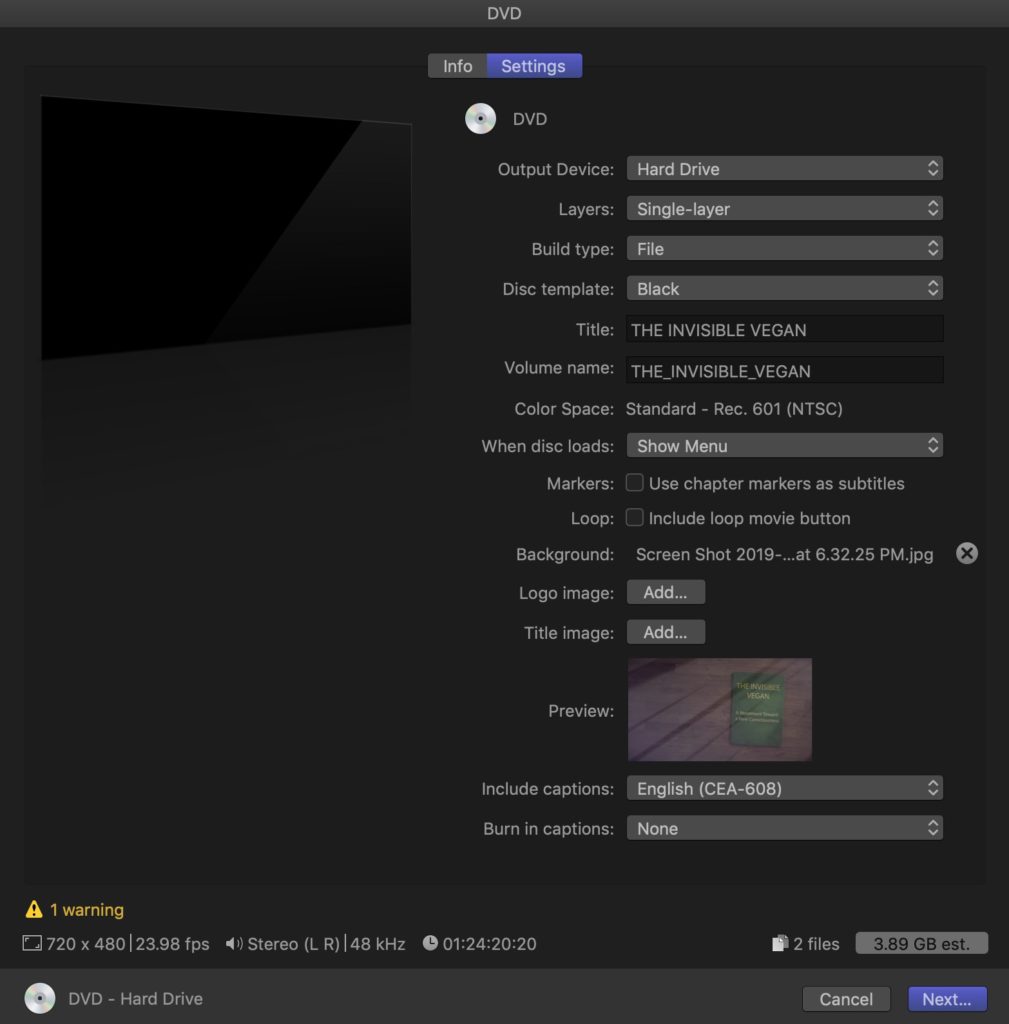
- SETTINGS: Follow these…
- Click Next and wait for the IMG file to be generated.
- Copy the IMG file to the desktop.
- Go to Spotlight and search for Terminal.app.
- Type in “hdiutil convert [filename].img -format UDTO -o [filename].iso”.

- You will get a “[filename].iso.cdr” file.
- Delete “.cdr” and you have an ISO file.
- Test the ISO file on a Windows system to ensure it works.
Feel free to drop me a comment and ask questions.
See my posts about making DVDs.
Adrian Lee | VIDEOLANE.COM
PS:
Hire me, Adrian Lee, for 2 days of intense, entertaining and informative training.
Train up your team with the Videography and Video Editing Course for Beginners.
